“In every gardener, there is a child who believes in the seed fairy.” – Robert Brault
There are several ways to preserve fresh garden herbs. Although freezing herbs in ice cube trays is a popular and easy way to store herbs for cooking, I prefer air drying herbs and storing them in airtight containers or mason jars rather than freezing them in ice trays. I’ll provide the steps here for freezing but also my preferred method – air drying. No matter which way you choose to preserve your herbs, you’ll begin with harvesting and preparing the herbs for storage in the same manner.
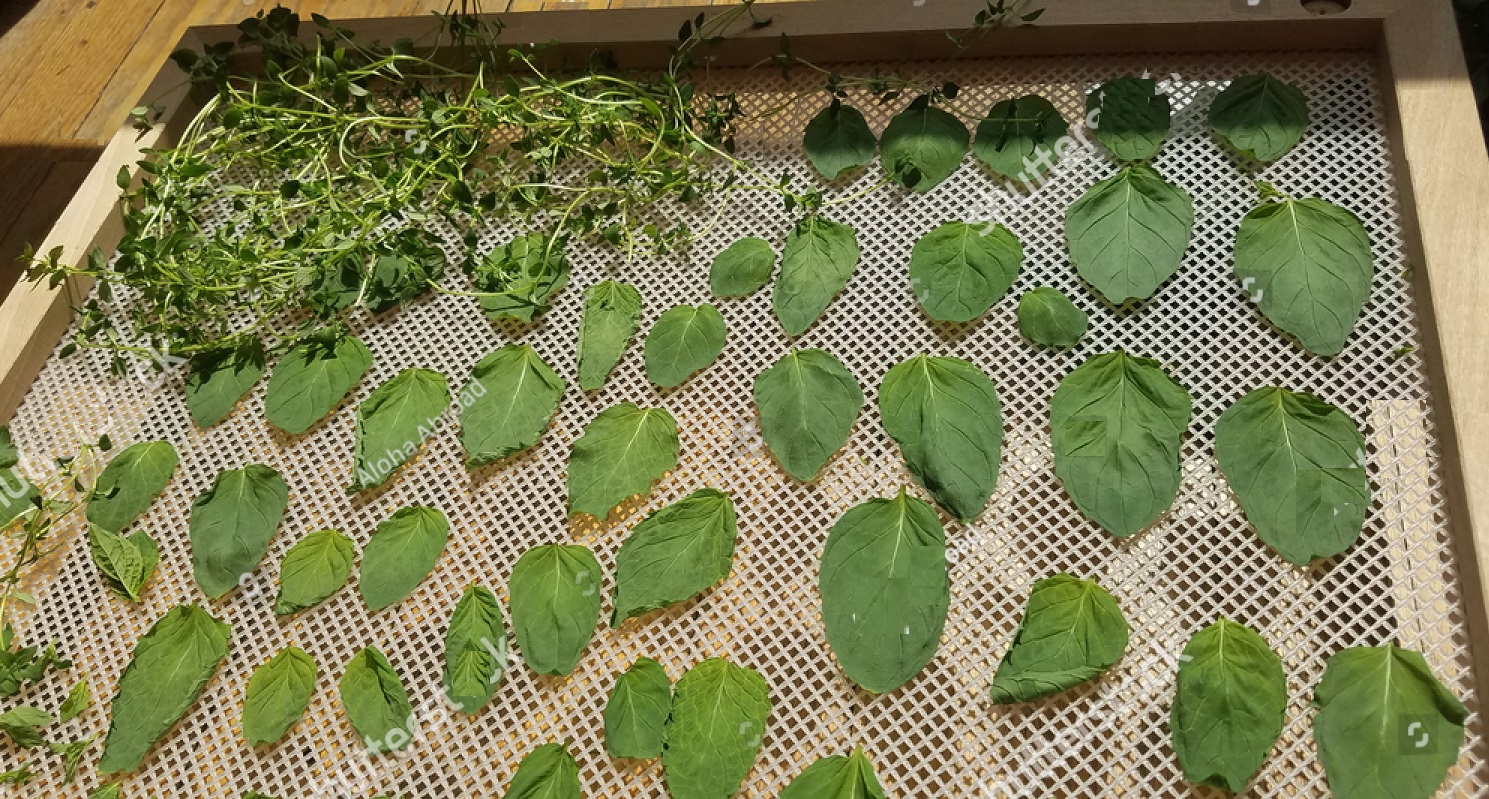
Harvesting and Preparing the Fresh Herbs
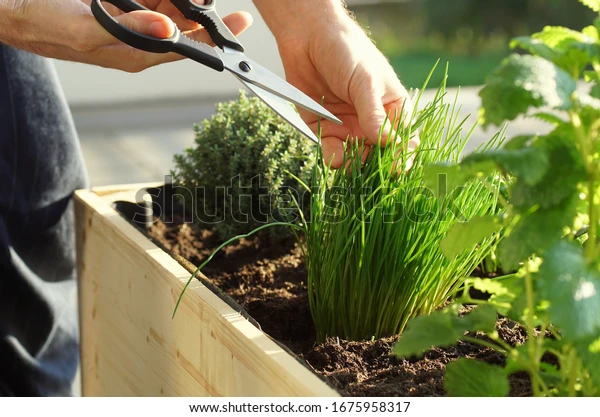
Gather the cuttings
The best time to harvest most herbs for drying is just before the flowers first open when they are in the bursting bud stage. Gather the herbs in the early morning after the dew has evaporated to minimize wilting. Avoid bruising the leaves. They should not lie in the sun or unattended after harvesting.
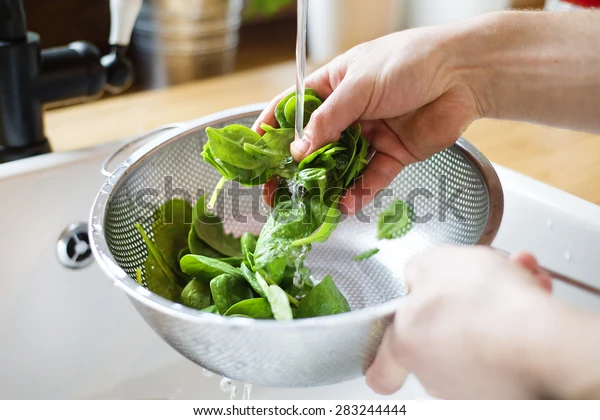
Wash thoroughly
Washing works best if you leave the stems intact. This will make washing the herbs easier without losing small leaves. You can cut longer stems off. Just don’t pull the leaves from the stem.
Brush off any visible dirt and then place in a bowl. Fill with cool water (never use hot water as it will wilt the herb). Swish gently, rinse, and repeat the process.
Next, place in a colander and rinse with cool water. At this point you can gently rub the leaves. I repeat this process several times.
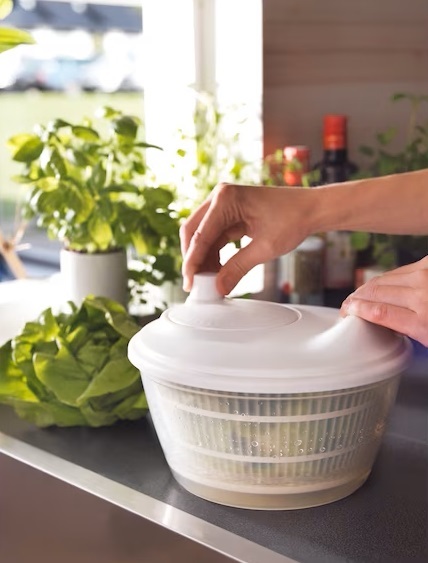
You can also use a salad spinner to agitate the herbs gently instead of rinsing in a colander.
Remove any wilted, yellowed, or discolored leaves and stems
Wilted leaves won’t have a strong flavor and need to be removed. This is why it’s important not to pick the herbs until you’re ready to start the process of preserving them. Be sure to inspect the underside of the leaf for any spots or discoloration.
Remove excess water
You can either pat dry with paper towels or, if the leaves are small such as with thyme, place them on a drying tray. The herbs do not need to be completely dry if you intend to dry them for preservation. However, if you plan to freeze the herbs in plastic wrap or baggies, make sure they are completely dry before continuing in order to prevent freezer burn.
Now that the herbs have been prepared following the above instructions, they’re ready to be preserved for later use.
Freezing Garden Herbs
Frozen herbs are great when used in cooked dishes and will still have that just-picked fresh herb flavor. However, they won’t be suitable for garnish as they become limp after thawing.
There are many ways to store frozen herbs. What matters is that their exposure to air is kept to a minimum. Air exposure in a freezer leads to them losing their flavor and can cause freezer burn if frozen damp.
Two of the most common and popular methods are storing in air-tight containers or freezing in ice-cube trays.
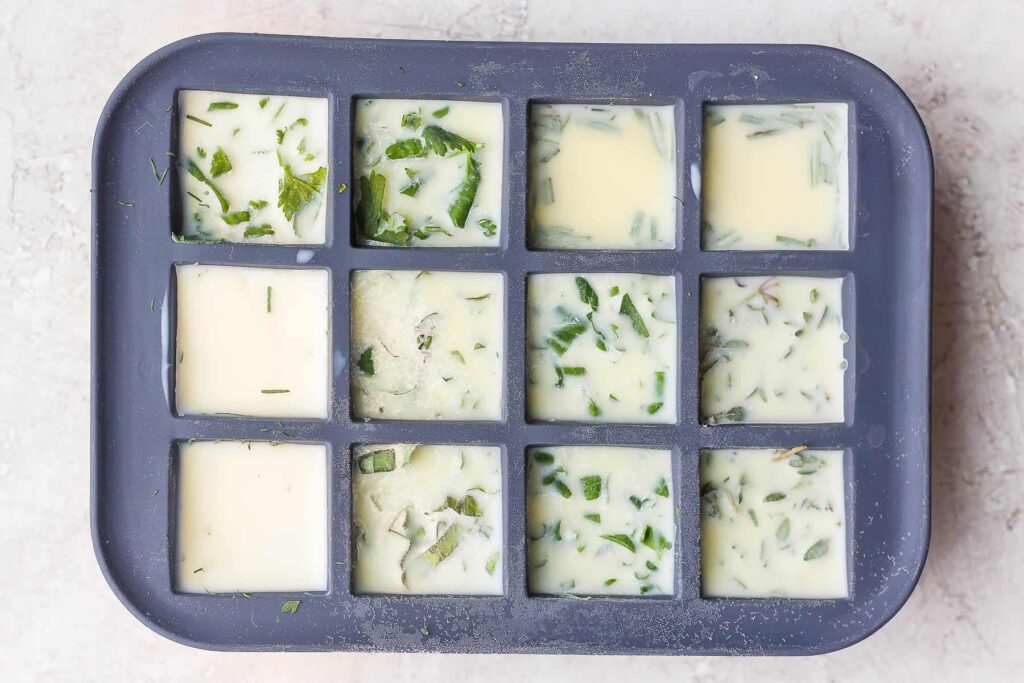
Freezing herbs in ice-cube trays
Freezing your herbs in ice-cube trays is a great way to get a single serving size.
You can freeze the herbs using water, low-sodium broth, or olive oil. Water and broth are recommended when you plan on using them in soups or recipes. For stir fry, using olive oil is the recommended approach.
Chop the herbs finely and place them in the trays. Pour the liquid over the herbs gently pressing down to make sure the herbs are completely covered.
Place plastic wrap on top sealing out as much air as possible and place them in the freezer. Once they are frozen you can remove them and place in freezer bags.
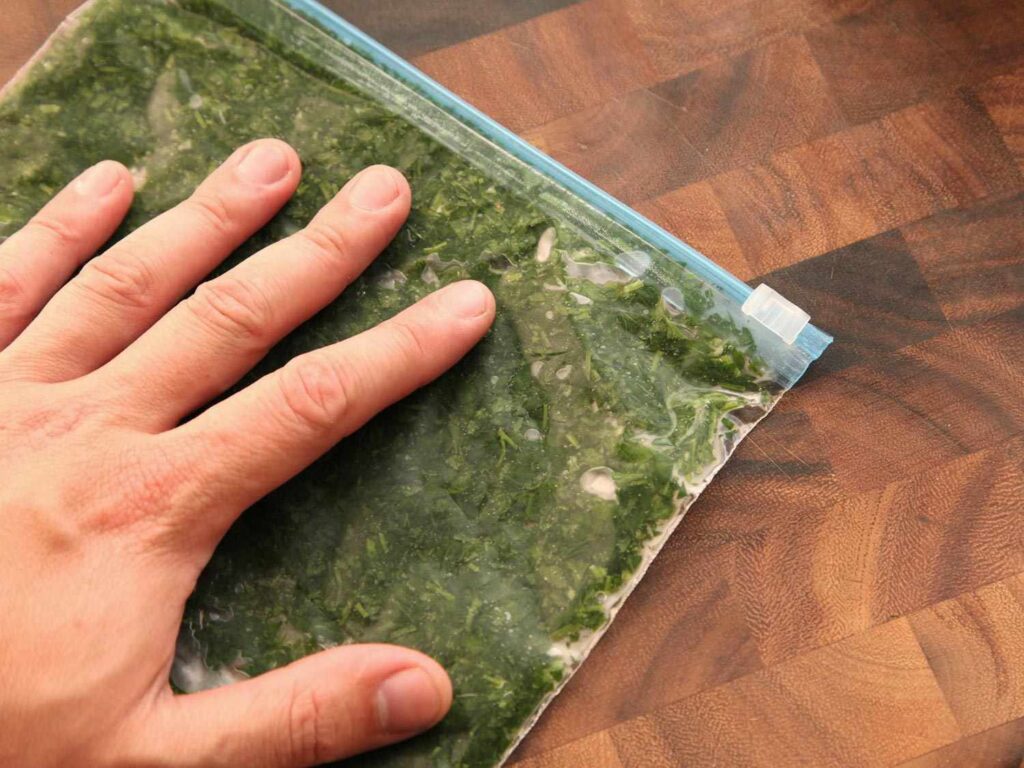
Freezing the herbs in air-tight containers
Place the sprigs or leaves in freezer wrap or baggies and store them in a freezer bag. I prefer baggies because you can see the contents and they remain tightly sealed. Don’t crush the herbs but do gently press to remove air pockets. Seal and freeze.
For a fun variation, try Herbed Butter!
Remove all unwanted stems and chop herbs to your desired size.
In a mixing bowl, gently blend the herbs in unsalted softened butter.
Prepare for freezing:
Ice-cube tray method: Place the mixture into flexible ice-cube trays. The flexible ice-cube trays make removing them easier once they’re frozen. If your ice trays aren’t flexible, you can spray with cooking spray before placing the mixture in the tray to make removing easier once frozen. Once completely frozen, remove from the trays and place in a freezer bag.
Molded butter method: Mold the butter back into sticks and wrap them in plastic wrap. Once they’re frozen you can place them in a larger freezer bag.
Drying Herbs
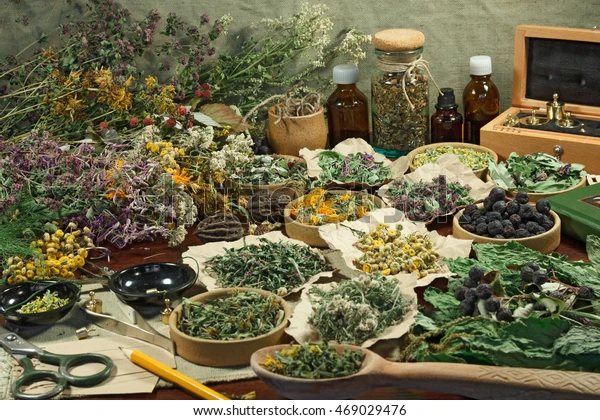
There’s nothing like fresh herbs from your own garden. It’s a sure way to know that the herbs are organic and pesticide free. You can store them for years if kept in a cool and dark storage area using air-tight containers.
The key is that they are kept in a dry, cool, low-light area. This prevents molding and loss of flavor. If you plan on hanging the herbs using the traditional method of bundling, you’ll need to rinse them before using them to remove any dust. Although they’re beautiful when displayed, avoid hanging them near a stove or any area where steam or humidity would be high.
Here are three low-cost easy methods for preserving your garden herbs.
Hanging Herbs in Bundles
When I think of air-drying garden herbs, the beautiful fragrant bundles of colorful hanging herbs are what come to my mind. I love this age-old technique and will hang some more for decoration that culinary use.
Although they are appealing and fragrant, this method isn’t the most practical for everyday use. Still, I will save a few of my favorites to hang so that I can enjoy them for months to come.
Hanging herbs to dry is best suited to those that grow on long stalks such as dill, basil, thyme, and rosemary. When you’re hanging for decoration go ahead and put them by an area that will have moisture or steam. This will bring out their fragrance. I hang mine by the sink but they work near your stove as well. Just not so close as to cause a fire hazard. However, if you do plan on using them for cooking purposes, they will need to be stored in a dry, low-light, cool location.
Prepare them by following the instructions above. If you don’t plan on culinary use, this doesn’t need to be followed so diligently.
Tie the bundles with twine or kitchen string making a small loop for hanging and enjoy!
Drying Herbs using a Microwave Oven
Drying herbs in a microwave is what I personally do. I like this method because it’s quick, energy efficient, and you don’t need to worry about dust or other contaminants as compared to air-drying. It’s important to make sure your microwave is clean so that other food odors aren’t absorbed into the herbs.
Microwaving Steps
Wash the herbs as outlined above and remove the leaves from the stems.
Place in the microwave on a paper towel.
Using a low power (This will vary depending on the wattage of your microwave. I use a power of 2.). Heat for 30 seconds, remove from the microwave, and turn the leaves over. If you’re drying something very small such as thyme, you can use your fingers to stir them. Repeat this step after the leaves have reached room temperature.
Repeat step 3 until the leaves are crisp and brittle.
Store in baggies or any air-tight container.
Drying Herbs in a Conventional Over
Conventional ovens can be used to dry herbs. This method will take a bit longer and you’ll need to carefully watch them during the drying process. I use this method in colder months because it will heat my kitchen at the same time!
Conventional Oven Drying Steps
Lay the herb leaves or sprigs on a cookie sheet lined with parchment paper. If you don’t have parchment paper and the leaves are larger, you can also use a metal cooling rack. Place the cooling rack on a cookie sheet to catch anything that may fall through the holes.
Place the cookie sheet in an open oven on low heat — less than 180 degrees F — for two to four hours.
Leave the over door cracked open slightly. I crack my over open with a wooden spoon.
Monitor the progress by checking every so often. Set a timer for 20 to 30 minutes as a reminder.
The herbs will be ready to remove if the leaves crumble easily.
Store in baggies or any air-tight container.
YouTube Video Library Collection
This is a collection of videos I have watched and found to be helpful and accurate.


